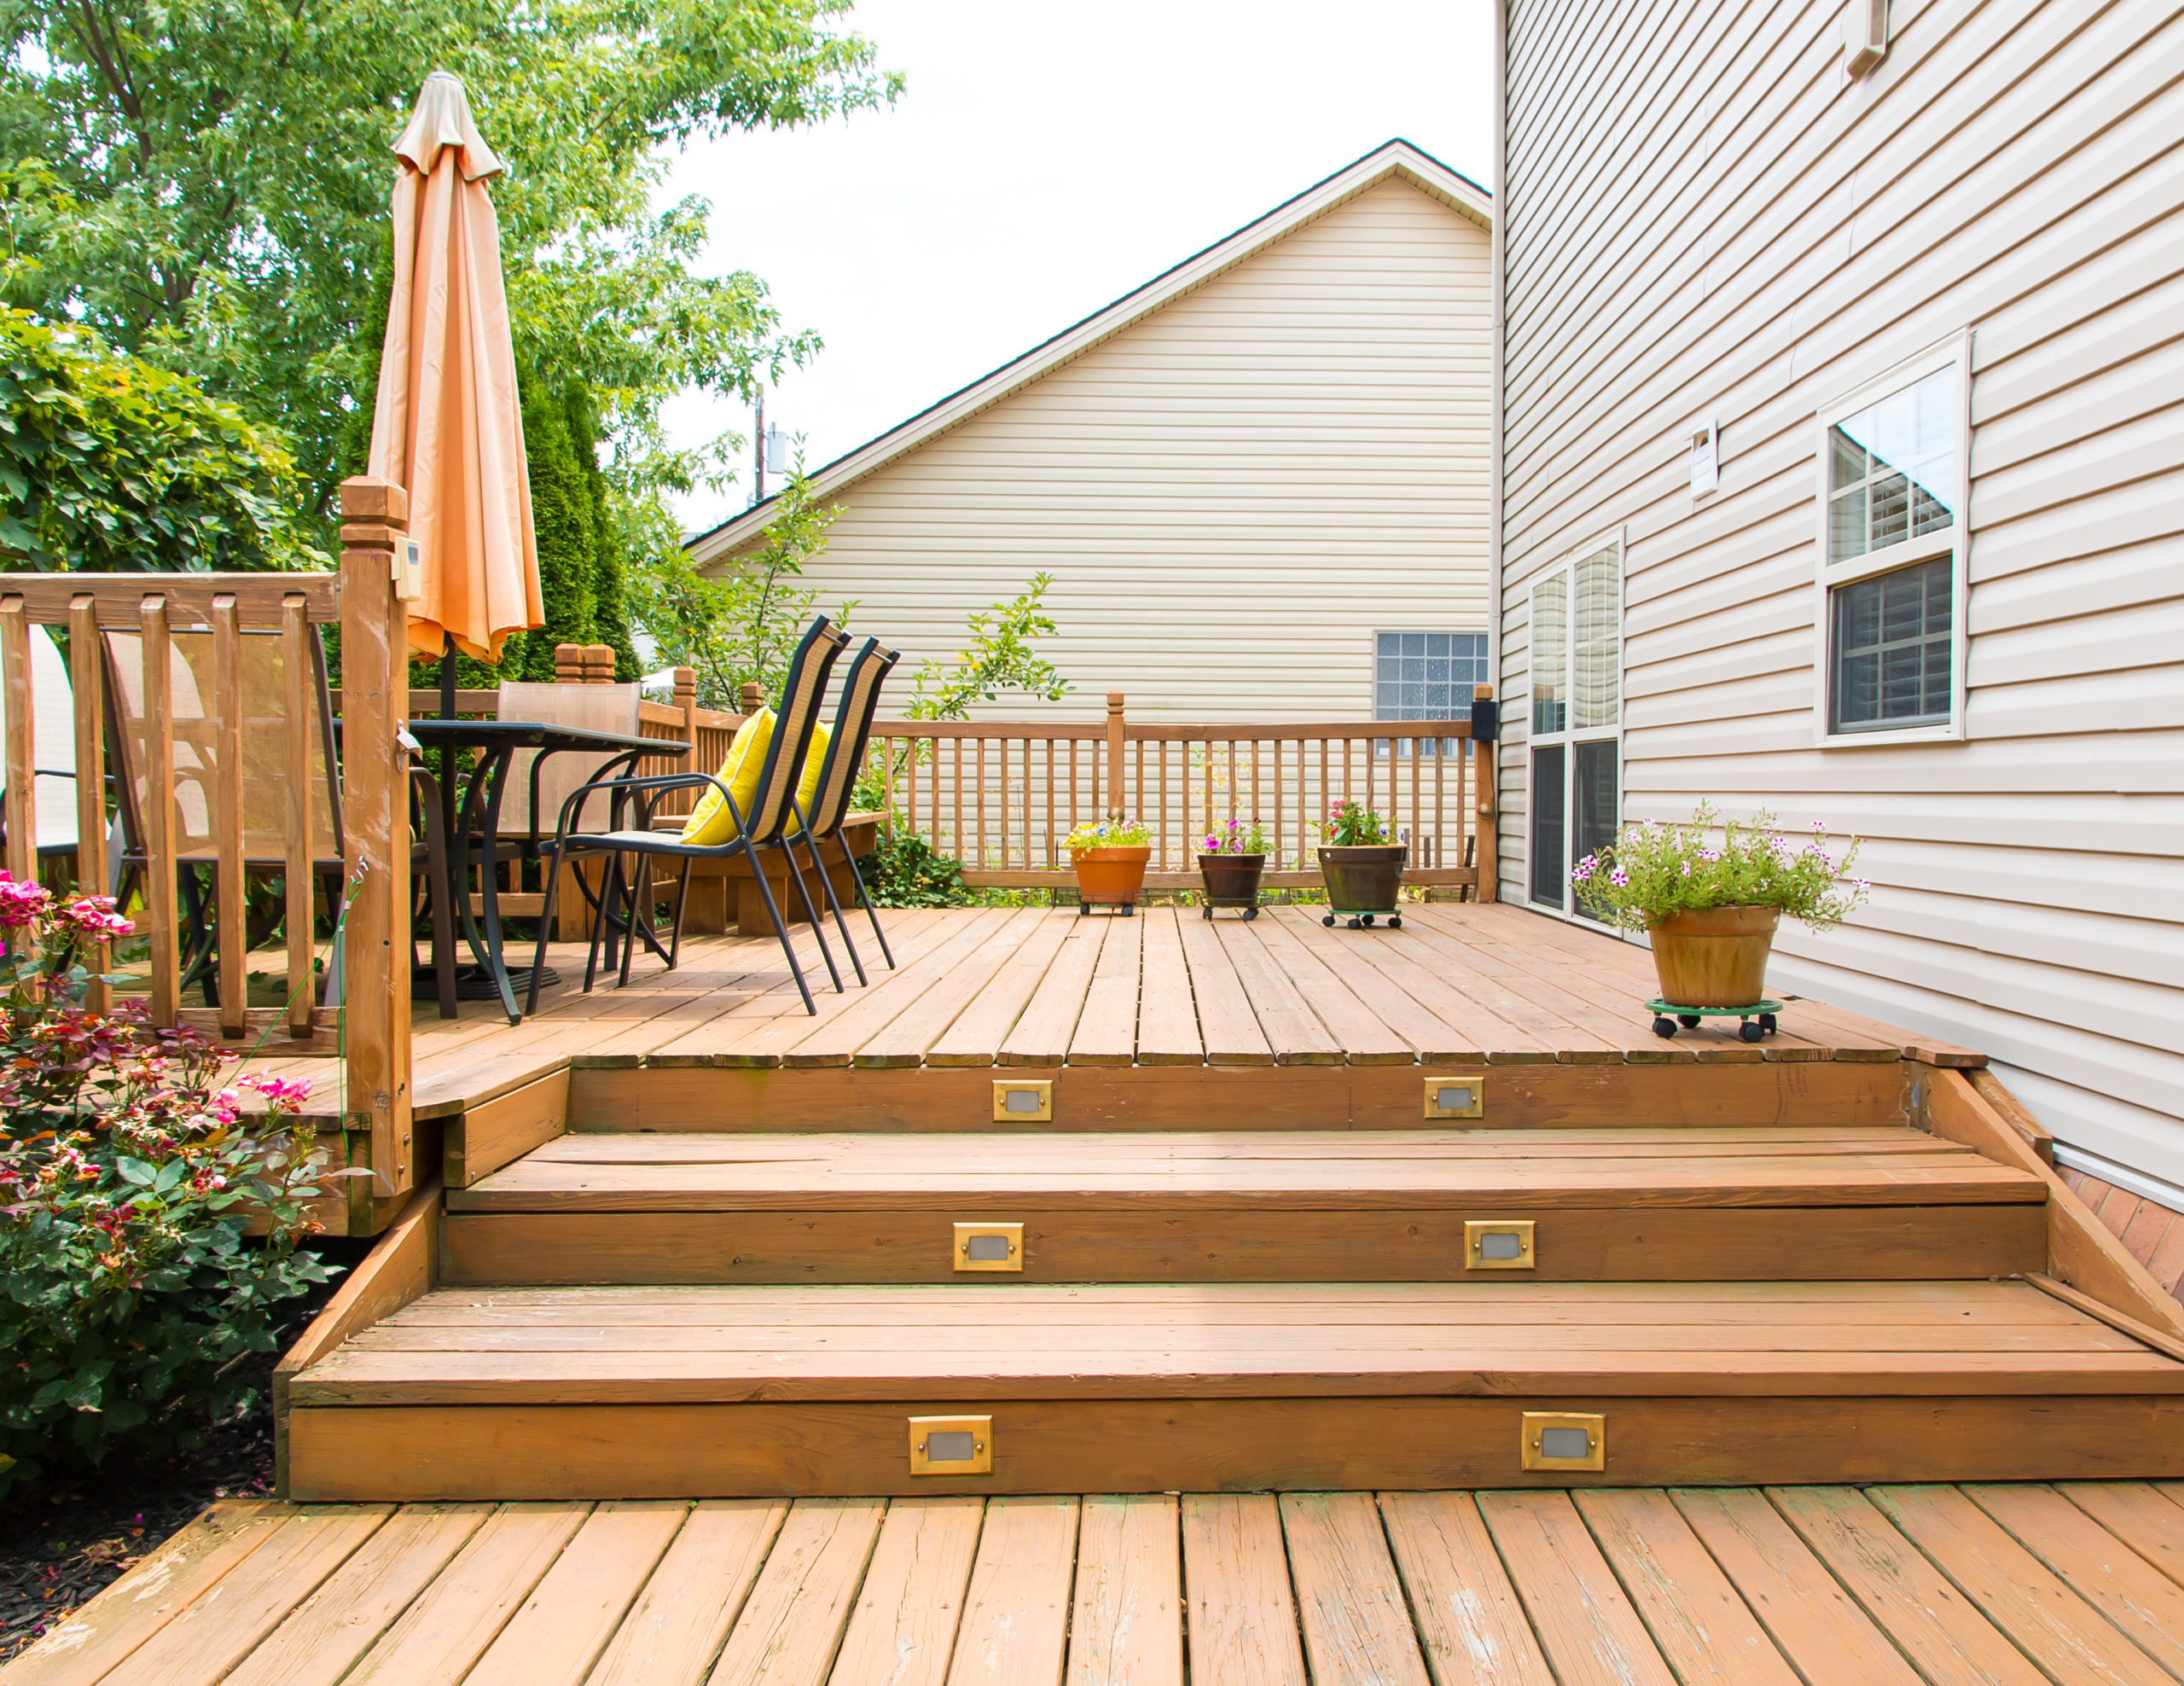
Deck Discoloration Made Easy: Step-by-Step Overview for Do It Yourself Fanatics
Are you a DIY fanatic looking to offer your deck a fresh brand-new appearance? In this detailed guide, we will stroll you via the process of deck discoloration. With our easy-to-follow guidelines, you'll be able to transform your deck right into a stunning exterior area in no time.
Preparing the Deck Surface
Before you start staining the deck, ensure you're properly cleaning as well as fining sand the surface area. This step is vital in making sure a smooth as well as long-lasting surface. Begin by getting rid of any furniture or plants from the deck. Brush up away any kind of loosened dust or debris using a mop. After that, use a power washer or a hose pipe with a high-pressure nozzle to completely cleanse the deck. Pay close attention to locations with stubborn stains or mold, as well as utilize a deck cleaner or a mix of warm water and mild cleaning agent to treat them. After cleaning, allow the deck to completely dry entirely for a minimum of 24 hours.
Once the deck is dry, it's time to sand the surface area. Get a handheld orbital sander or a fining sand block, and start fining sand the deck boards in the instructions of the wood grain.
Picking the Right Stain
When choosing the appropriate discolor, you'll intend to take into consideration the kind of wood you're collaborating with. Different sorts of wood have different attributes that can affect how well they take in the tarnish. Softwoods, like want or cedar, tend to soak up discolor even more readily than hardwoods, such as oak or mahogany. Keep this in mind when choosing your stain to guarantee you accomplish the wanted surface.
Spots come in a selection of shades, from light to dark, as well as can substantially transform the appearance of your deck. If you're looking to enhance the all-natural color of the timber, pick a transparent or semi-transparent stain.
Last but not least, think of the degree of protection you desire for your deck. Spots with higher levels of pigment have a tendency to provide far better defense against UV rays and dampness. If your deck is revealed to extreme climate conditions, it's worth buying a stain with added safety high qualities.
Cleaning as well as Repairing the Deck
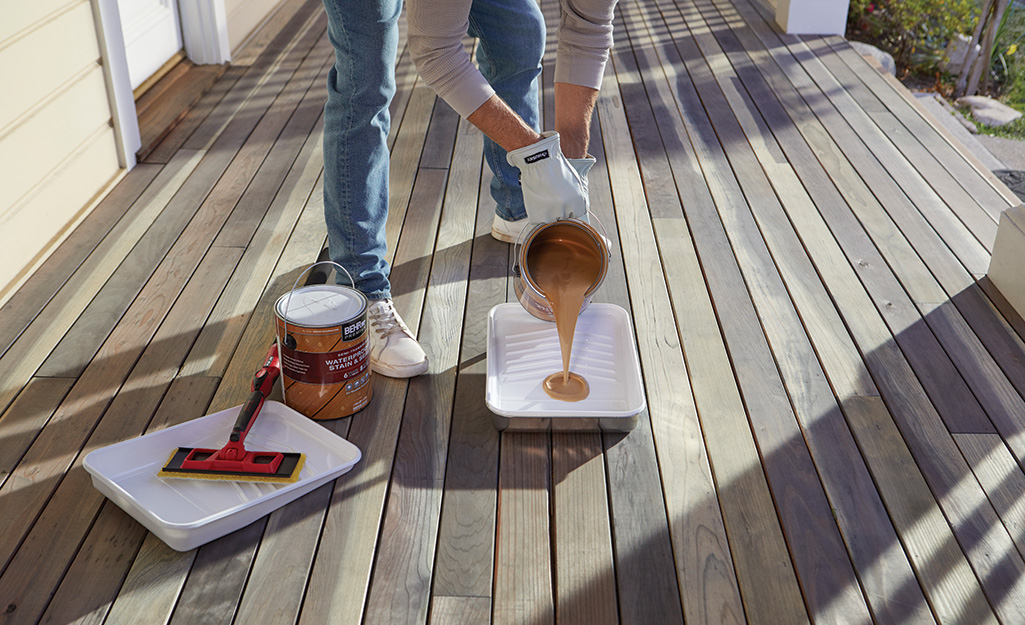
Applying the Spot
Finishing Touches and Maintenance Tips
After using the last layer of stain, it's important to frequently clean and secure your deck to preserve its charm and secure it from the elements. Cleaning your deck needs to end up being a part of your regular upkeep routine. Use a broom or leaf blower to get rid of any kind of dirt, leaves, or particles that might have collected externally. For a deeper tidy, you can utilize a power washer, yet take care not to utilize way too much pressure as it can damage the timber. Once the deck is tidy, it's time to seal it. Pick a top quality sealer that is particularly designed for decks and also apply it according to the supplier's directions. A sealer will not just safeguard the timber from dampness and UV rays, but it will also boost the color and also surface of the tarnish. It's recommended to use a new coat of sealer every 1-2 years to keep your deck looking its finest. By routinely cleansing and securing your deck, you will prolong its lifespan and make certain that it remains a beautiful as well as welcoming outdoor area for several years to come.
Conclusion
